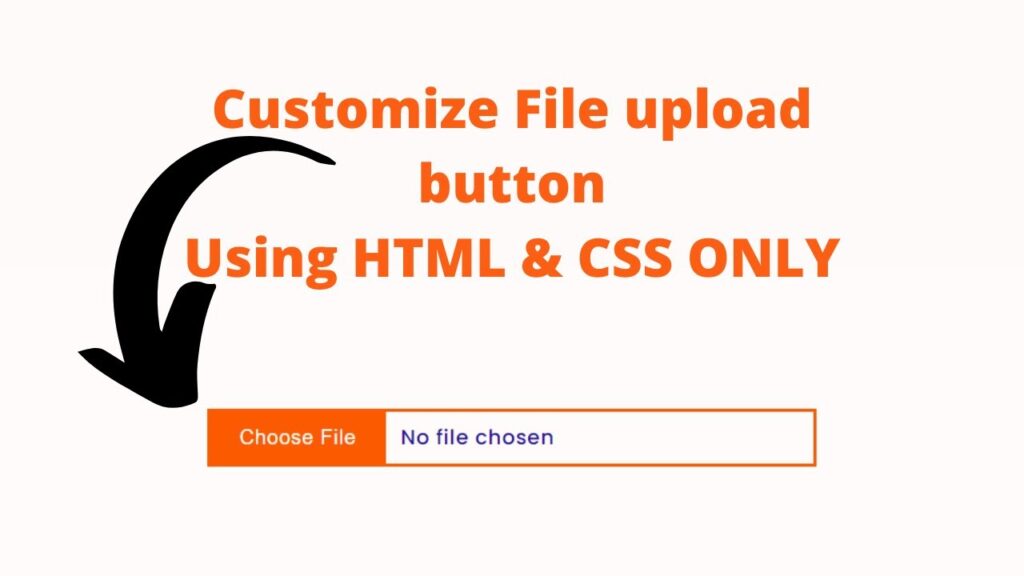
Customizing a file upload button can add a touch of personalization to your website and make it stand out from the competition. With just a few lines of HTML and CSS, you can easily transform the appearance of your file upload button. To begin, you will need to have a basic understanding of HTML and CSS. If you are unfamiliar with these languages, there are plenty of online resources and tutorials available to help you get started.
First, you will need to create the HTML structure for your file upload button. This can be done by using the input element with the type attribute set to file. You can also add a label element to provide a more descriptive text for the button.
Next, you can use CSS to style the appearance of your file upload button. You can change the color, font, size, and other visual properties of the button to suit your preferences. You can also use CSS to add hover effects, such as changing the color of the button when the user hovers their cursor over it.
One thing to keep in mind is to make sure that the file upload button is easily identifiable and visually distinct from other elements on the page. This will help users easily locate and use the button to upload their files.
Video Tutorial of How To Customize File Upload Button Using HTML & CSS
As you have seen on the given video tutorial of Customize File Upload Button Using Html, CSS and JavaScript, If you are feeling bored watching the given video tutorial of Customize File Upload Button Using Html, CSS and JavaScript then you can copy or download the given codes below:
How To Customize File Upload Button Using Html, CSS and JavaScript | Free Source Code
To create this program (Customize File Upload Button). First, you need to create two Files one HTML File and another one is CSS File. After creating these files just paste the following codes in your file.
In the first place, make a HTML document with the name of index.html and paste the given codes in your HTML record. Keep in mind, you’ve to make a document with .html extension.
<!DOCTYPE html>
<html lang="en">
<head>
    <meta charset="UTF-8">
    <meta http-equiv="X-UA-Compatible" content="IE=edge">
    <meta name="viewport" content="width=device-width, initial-scale=1.0">
    <title>Customize input file using html and css</title>
    <link rel="stylesheet" href="style.css">
</head>
<body>
   <div class="input-container">
        <input type="file">
   </div>
</body>
</html>
Second, make a CSS record with the name of style.css and paste the given codes in your CSS document. Keep in mind, you’ve to make a record with .css extension.
@import url("https://fonts.googleapis.com/css2?family=Poppins:wght@100;200;300;400;500;600;700;800&display=swap");
* {
  margin: 0;
  padding: 0;
  font-family: "Poppins", sans-serif;
  box-sizing: border-box;
}
body{
    display: flex;
    justify-content: center;
    align-items: center;
    min-height: 100vh;
    background: #fac4c410;
}
.input-container{
    width: min(100% - 1em, 400px);
    margin-inline: auto;
}
.input-container input[type="file"]{
    width: 100%;
    border: 2px solid #fc5a01;
    font-weight: 500;
    letter-spacing: 0.5px;
    color: #29119d;
    background: transparent;
    cursor: pointer;
    outline: none;
}

.input-container input[type="file"]::-webkit-file-upload-button{
    padding: 0.6rem 1.2rem;
    font-weight: 500;
    margin-right: 10px;
    letter-spacing: 0.5px;
    color: #fff;
    outline: none;
    border: none;
    background: #fc5a01;
    cursor: pointer;
}
That’s all, now you’ve successfully Customize File upload Button Using Html and CSS. If your code doesn’t work or you’ve faced any error/problem, please download the source code files from the given download button. It’s free and a .zip file will be downloaded then you’ve to extract it.
Click on the following download button to download all source code files.


